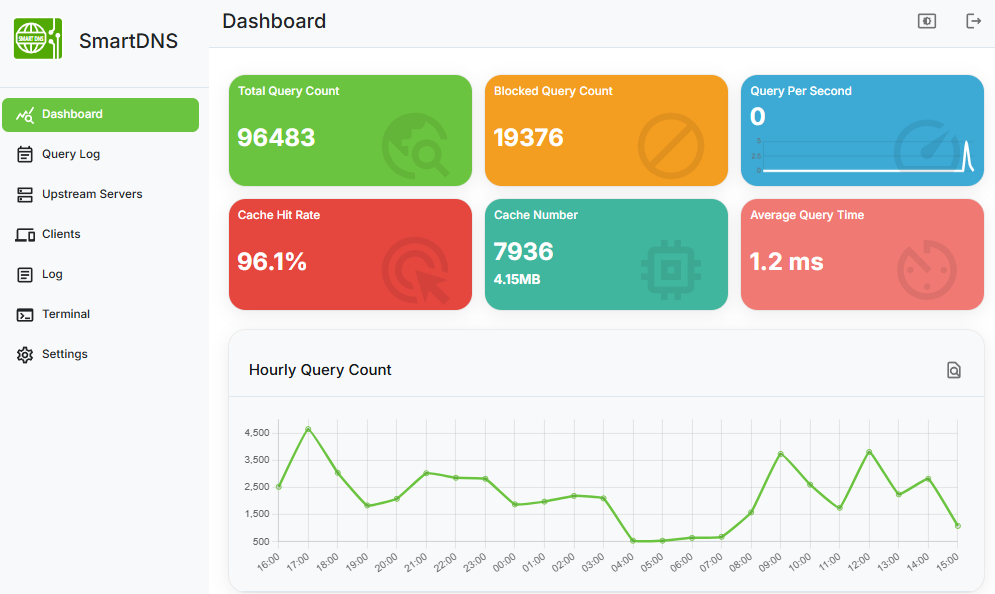
SmartDNS Dashboard
SmartDNS provides a web based dashboard feature that can be enabled by installing the dashboard plugin separately.
Enabling the SmartDNS Dashboard
-
Configure the
pluginparameter as shown below:# Enable the dashboard plugin smartdns_ui.so # Set the server port. smartdns-ui.ip http://[::]:6080Note:
- The default username and password is:
admin/password. - The dashboard uses a plugin mechanism. If the SmartDNS program is statically compiled, the dashboard plugin is not supported.
- The default username and password is:
-
Set the data file storage path using the
data-dirparameter:data-dir /var/lib/smartdns -
Enable HTTPS service:
Use the
https://prefix in thesmartdns-ui.ipparameter to enable HTTPS.# Enable HTTPS service smartdns-ui.ip https://[::]:6080 # Specify certificate files bind-cert-file /path/to/ca-file bind-cert-key-file /path/to/ca-key-fileNote:
- When HTTPS is enabled and no certificate files are specified, SmartDNS will automatically generate a root certificate file with
CNasSmartDNS Rootand the related certificate chain. - You can add this root certificate to your trusted domain to enable secure access.
- When HTTPS is enabled and no certificate files are specified, SmartDNS will automatically generate a root certificate file with
-
Set the maximum retention time for query logs:
Use
smartdns-ui.max-query-log-ageto set the maximum retention time for query logs.# Set the maximum query log retention time in seconds smartdns-ui.max-query-log-age 86400
Enabling the SmartDNS Dashboard Terminal
-
Enable Terminal service:
smartdns-ui.enable-terminal yes
For more configuration options, refer to the Configurations page.